서론
항상 새로운 기술을 배우기 시작하는 것은 귀찮지만 한편으로는 재미있는 것 같다. 저번 시간에 Flutter 프로젝트를 구성해 봤었는데, 오늘은 해당 프로젝트가 어떻게 이루어져 있는지, 어떻게 작동이 되는지를 알아보고자 한다.
프로젝트 구성
README
처음 생성 시에 README 파일과 main.dart 파일 하나를 띄워준다. README 파일에는 처음으로 Flutter 프로젝트를 진행하는 사람들을 위한 Docs들이 주어진다.
https://docs.flutter.dev/get-started/codelab
따라 만들기만 해도 어느 정도의 기본 요소는 알아갈 수 있는 설명서가 제공된다. 카피 코딩에 대해 호불호가 갈리는 것은 사실이지만, 언제나 처음은 흥미로 시작하는 것이기에 나는 좋게 보는 편이다.
흥미가 식으면 오래가기 힘들기에 새로운 것을 배울 때면, 우선 작동을 시켜보고 아무것도 모르는 상태에서 추가하라는 것을 따라 해보고는 한다. 이론부터 배우기에는 너무 지루하지 않은가. 따라 하기만 해도 어느 정도의 패턴을 파악할 수 있고, 조금 더 알아보고자 할 때 자세히 파고들면 된다고 생각한다.
https://docs.flutter.dev/cookbook
그다음으로 주어진 것은 Cookbook이다. 요리책이라는 명칭답게 만들어 레시피(애니메이션 넣는 법, 효과 넣는 법..)들이 주어져있다. 기존의 docs 문서라고 생각하면 된다. 프로젝트를 진행할 때 가장 많이 들여다볼 녀석이다.
주소를 보면 알겠지만, 위에 나온 내용뿐만 아니라 관련 영상 등을 모두 하위 집합으로 가지고 있다.
구성
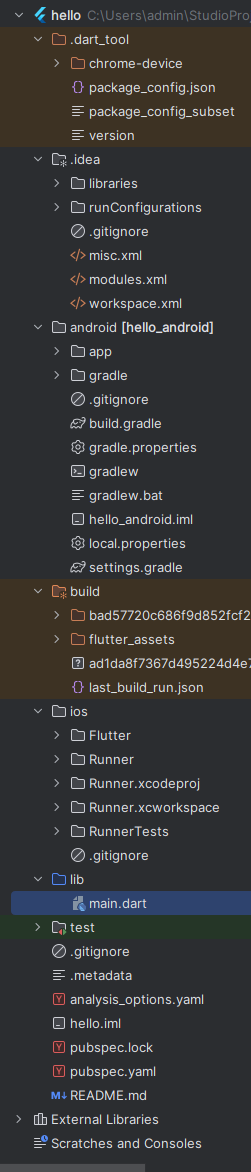
.dart_tool
chrome-device와 패키지를 관리하는 파일이 있었다. chrome-device는 아마도 emulator를 웹 환경에서 진행하는 게 아닐까 싶다. 기존에 emulator는 꽤나 무거웠는데 웹 환경은 어떠할지도 궁금하다.
.idea
여러 옵션 등을 저장하는 xml 파일들이 위치해 있다. 자주 건드리지 않을 것 같은 느낌이다.
android
당연히 익숙한 구성이다. Java 혹은 Kotlin 개발을 할 때 보는 화면과 동일하다.
build
앱을 빌드하는 데 사용하는 파일들이 있는 곳 같다. 폰트, 쉐이더와 같은 asset들이 있다.
ios
swift로 개발을 해본 적이 없지만 아마 swift 개발을 할 때 보는 화면과 비슷하지 않을까 싶다.
lib
실제 dart언어로 작성할 프로그램 파일들이 위치할 곳이다.
test
testcase를 작성하는 곳이다. TDD는 어렵다.
대충 이 정도로 프로젝트가 구성되어 있다.
main.dart

우선 Chrome (web)으로 emulator를 설정해 주고, 바로 돌려봤더니 이와 같은 화면이 나왔다. 우하단의 + 버튼을 누르면 숫자가 올라가는 간단한 페이지였다.
돌아가는 것까지 확인했으니 main.dart 코드를 보면서 어떤 것이 이 페이지를 이렇게 만들었는지도 확인해 보자.
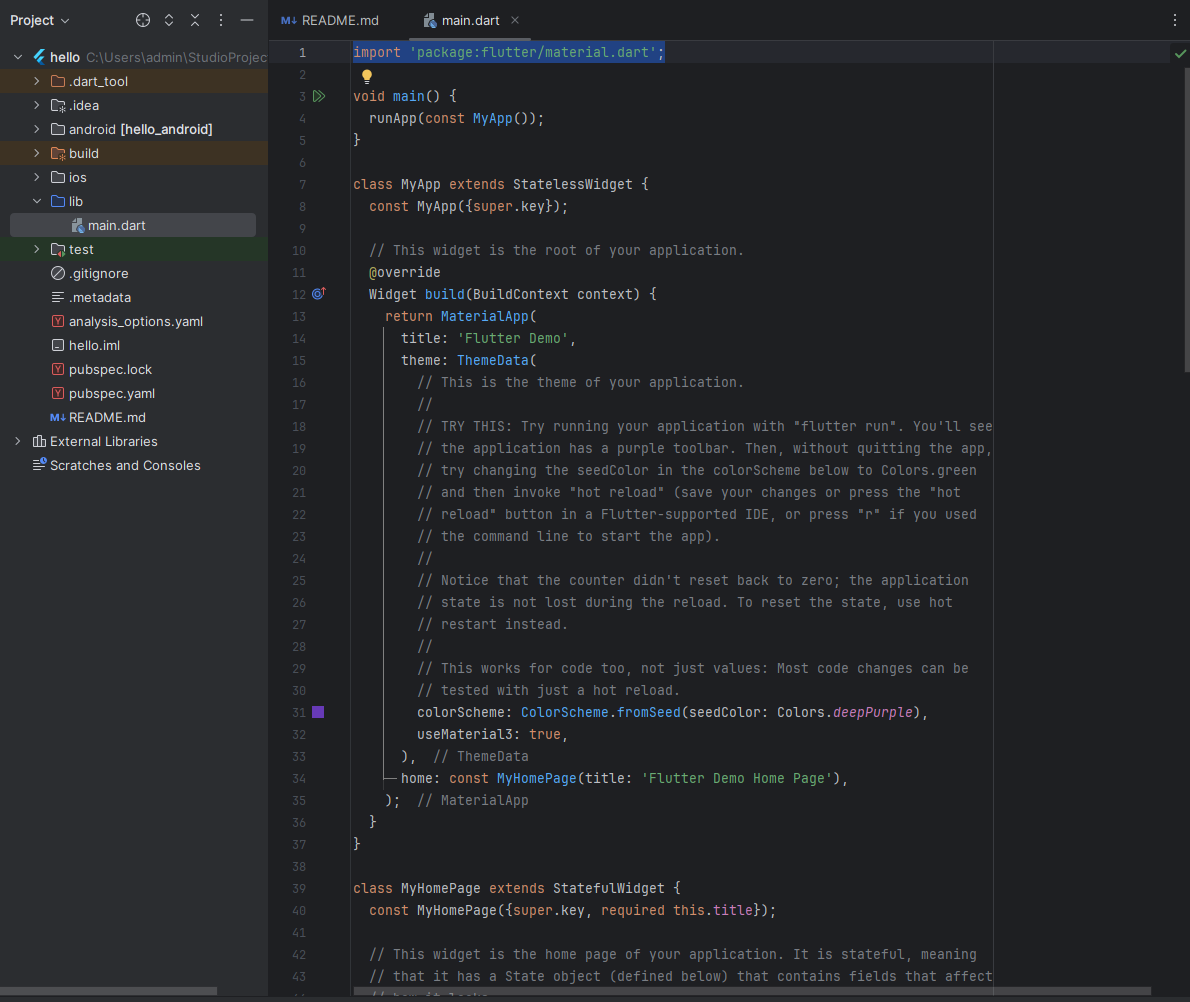
가장 처음에는 import 'package:flutter/material.dart';와 같이 패키지를 import 하고 시작한다.
void main() {
  runApp(const MyApp());
}
웹, 앱 개발을 할 때 이런 모습이었던 기억이 있다. main이라는 이름을 가지고 있는 것에서 알 수 있듯이 프로그램 실행이 시작되는 부분이다.
class MyApp extends StatelessWidget {
  const MyApp({super.key});

  // This widget is the root of your application.
  @override
  Widget build(BuildContext context) {
    return MaterialApp(
      title: 'Flutter Demo',
      theme: ThemeData(
        // This is the theme of your application.
        //
        // TRY THIS: Try running your application with "flutter run". You'll see
        // the application has a purple toolbar. Then, without quitting the app,
        // try changing the seedColor in the colorScheme below to Colors.green
        // and then invoke "hot reload" (save your changes or press the "hot
        // reload" button in a Flutter-supported IDE, or press "r" if you used
        // the command line to start the app).
        //
        // Notice that the counter didn't reset back to zero; the application
        // state is not lost during the reload. To reset the state, use hot
        // restart instead.
        //
        // This works for code too, not just values: Most code changes can be
        // tested with just a hot reload.
        colorScheme: ColorScheme.fromSeed(seedColor: Colors.deepPurple),
        useMaterial3: true,
      ),
      home: const MyHomePage(title: 'Flutter Demo Home Page'),
    );
  }
}
StatelessWidget 클래스를 상속받은 MyApp 클래스가 있다. StatelessWidget은 framework.dart 파일 내에서 Widget 클래스를 상속받아 만들어진 추상화 클래스임을 알 수 있다. 문법이 C와 비슷하다고 들었는데, 아직까지는 Java와 유사한 점이 더 많은 것 같다. 절차 지향 언어와 객체 지향 언어 근본적인 차이 때문에 이렇게 느끼는 것일 수도 있긴 하다.
Widget을 한 번 더 타고 들어가 봤더니 @immutable이 박혀있고, DiagnosticableTree를 상속하고 있다. 상호작용을 관리하는 트리로 구성되어 있는 느낌이다.
build부분은 위젯을 출력하는 메인부인 것 같다. title과 theme, colorScheme 등 기본적인 설정을 할 수 있다. colorScheme의 seedColor를 바꿔보니 전체 테마 색이 변경하는 것을 확인할 수 있었다.
바꿔가며 알 수 있었던 점인데, 수정하는 즉시 웹 emulator에 반영이 되며 emulator를 꺼도 수정사항은 그대로 유지된다는 것이다. 예전에 코틀린을 할 때였나 이렇게 켜놓은 상태에서 수정하면 반영은 되지만 끄게 되면 수정사항들이 모두 날아갔던 기억이 있는데 굉장히 편리한 것 같다.
class MyHomePage extends StatefulWidget {
  const MyHomePage({super.key, required this.title});

  // This widget is the home page of your application. It is stateful, meaning
  // that it has a State object (defined below) that contains fields that affect
  // how it looks.

  // This class is the configuration for the state. It holds the values (in this
  // case the title) provided by the parent (in this case the App widget) and
  // used by the build method of the State. Fields in a Widget subclass are
  // always marked "final".

  final String title;

  @override
  State<MyHomePage> createState() => _MyHomePageState();
}

class _MyHomePageState extends State<MyHomePage> {
  int _counter = 0;

  void _incrementCounter() {
    setState(() {
      // This call to setState tells the Flutter framework that something has
      // changed in this State, which causes it to rerun the build method below
      // so that the display can reflect the updated values. If we changed
      // _counter without calling setState(), then the build method would not be
      // called again, and so nothing would appear to happen.
      _counter++;
    });
  }

  @override
  Widget build(BuildContext context) {
    // This method is rerun every time setState is called, for instance as done
    // by the _incrementCounter method above.
    //
    // The Flutter framework has been optimized to make rerunning build methods
    // fast, so that you can just rebuild anything that needs updating rather
    // than having to individually change instances of widgets.
    return Scaffold(
      appBar: AppBar(
        // TRY THIS: Try changing the color here to a specific color (to
        // Colors.amber, perhaps?) and trigger a hot reload to see the AppBar
        // change color while the other colors stay the same.
        backgroundColor: Theme.of(context).colorScheme.inversePrimary,
        // Here we take the value from the MyHomePage object that was created by
        // the App.build method, and use it to set our appbar title.
        title: Text(widget.title),
      ),
      body: Center(
        // Center is a layout widget. It takes a single child and positions it
        // in the middle of the parent.
        child: Column(
          // Column is also a layout widget. It takes a list of children and
          // arranges them vertically. By default, it sizes itself to fit its
          // children horizontally, and tries to be as tall as its parent.
          //
          // Column has various properties to control how it sizes itself and
          // how it positions its children. Here we use mainAxisAlignment to
          // center the children vertically; the main axis here is the vertical
          // axis because Columns are vertical (the cross axis would be
          // horizontal).
          //
          // TRY THIS: Invoke "debug painting" (choose the "Toggle Debug Paint"
          // action in the IDE, or press "p" in the console), to see the
          // wireframe for each widget.
          mainAxisAlignment: MainAxisAlignment.center,
          children: <Widget>[
            const Text(
              'You have pushed the button this many times:',
            ),
            Text(
              '$_counter',
              style: Theme.of(context).textTheme.headlineMedium,
            ),
          ],
        ),
      ),
      floatingActionButton: FloatingActionButton(
        onPressed: _incrementCounter,
        tooltip: 'Increment',
        child: const Icon(Icons.add),
      ), // This trailing comma makes auto-formatting nicer for build methods.
    );
  }
}
해당 내용들은 실제 프로젝트를 진행하며 하나씩 건드려봐야겠다.
'개발' 카테고리의 다른 글
| 04-Flutter 첫 번째 Flutter 앱 (2) (1) | 2024.03.22 |
|---|---|
| 03-Flutter 첫 번째 Flutter 앱 (0) | 2024.03.19 |
| 01-Flutter 설치 및 개발 환경 설정 (1) | 2024.03.16 |